

4 November 2025
Enhance Your Course with Blackboard Video Studio
Blackboard Video Studio is a powerful, built-in audio/video tool that allows you to easily record, upload, and share multimedia content directly within your course.

What is Video Studio?
Video Studio is an integrated solution that lets you create or upload audio and video recordings. It's designed to be lightweight and easy to use, making it simple to add a personal touch to your course materials.
Where Can You Use It?
Instructors can create and add Video Studio content in several key areas of a course:
- Course Content page
- Documents
- Forms
- Journals
- Announcements
Both instructors and students can use Video Studio to record and share content in more interactive areas:
- Tests and assignments
- Discussion topics
Getting Started: Specifications
For the best experience, keep these specifications in mind:
- Recording Duration: Videos recorded directly in Video Studio have a maximum length of 20 minutes. However, there is no time limit for videos you upload from your device.
- Upload File Size: You can upload files up to 10GB.
- Streaming Quality: The player uses adaptive streaming technology, automatically adjusting between HD (1080p) and SD (480p) to ensure smooth playback based on the viewer's internet connection.
- Supported File Formats: A wide range of file types are supported, including:
- Video: .mp4, .mov, .avi, .mkv, .wmv, .flv, .webm
- Audio: .mp3, .m4a, .wav, .ogg, .flac
How to Add a Recording
You can easily add recordings to your course content. Here’s how:
1. Choose Your Location
- On the Course Content page: Select the + icon where you want to add content, then choose Record Audio/Video.
- In a Document: Add a new content block and select Audio/Video.
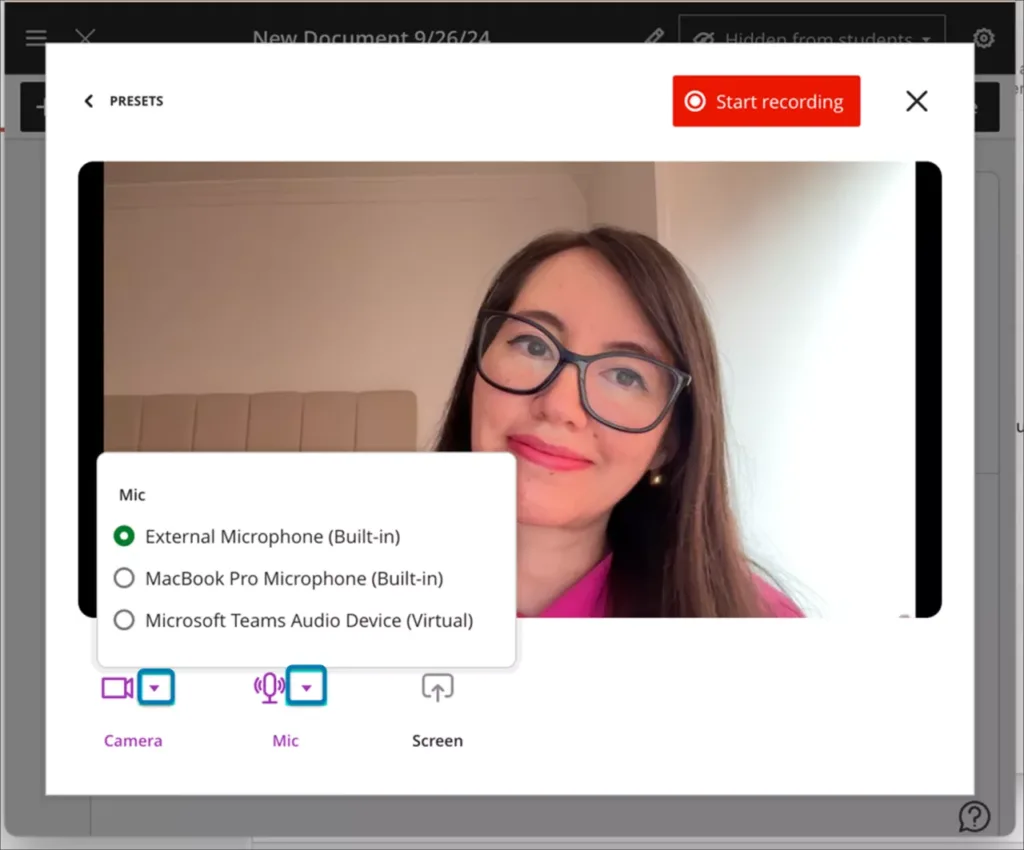
2. Select a Recording Method
Once you're in the Audio/Video content block, you have several options:
- 📷 Camera: Record video using your webcam.
- 🎙️ Audio: Record audio only using your microphone.
- 💻 Screen: Record your computer screen.
- 🧑💻 Audio & Screen: Record your screen with voice-over narration.
- ⬆️ Upload from device: Upload an existing audio or video file.
You can use the dropdown menus to select which camera, microphone, or screen you want to use if you have multiple devices connected.
Note:
- If you select Camera or Audio, the Screen button will be unavailable.
- If you select Screen or Audio & Screen, the Camera button will be unavailable.
3. Record and Save
- Click Start Recording. A three-second countdown will appear before the recording begins.
- During the recording, you can pause, resume, or end the session.
- After the recording, you can retake recording.

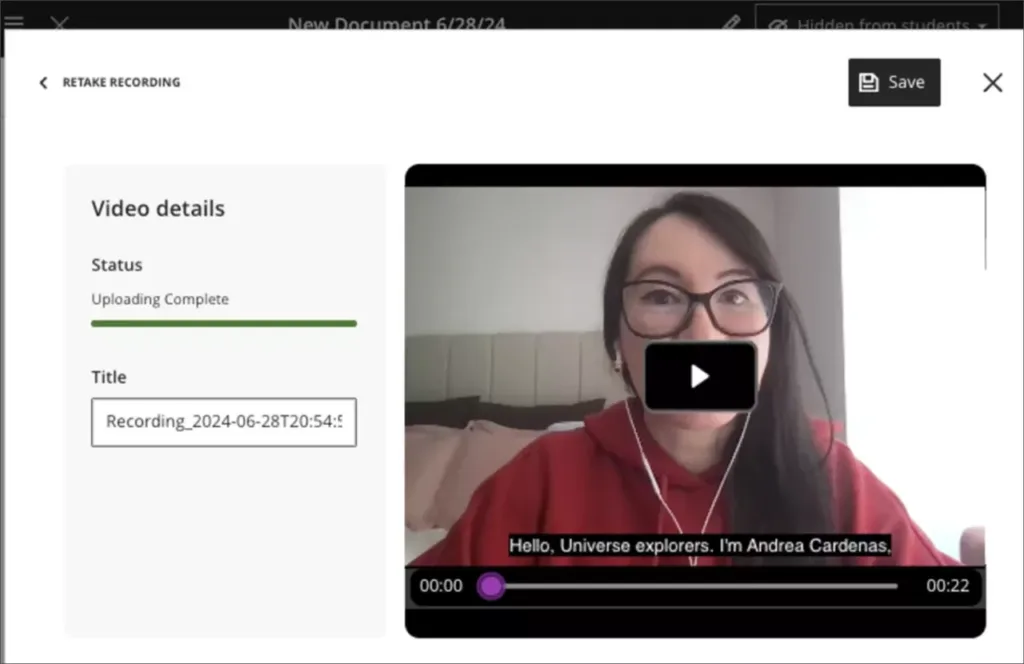
- Once you end the recording, it will begin to upload. While it's processing, you can preview the video and edit the title.
- Click Save to add the recording to your course.
To edit a video's title later, simply click the three dots in the course content page and then click Edit. Once the sidebar opens you can edit the title there. This sidebar also allows you to Edit Video, Replace File and add a Description.

If an Upload Fails
Don't worry! If a file fails to upload, you can easily try again by clicking Retry upload in the top right corner or the Retry button next to the progress bar.
Accessibility: Edit and Download Transcripts ✍️
One of Video Studio's best features is its automated accessibility tools. Captions and transcripts are automatically generated for every recording. The system can even identify and label up to 30 different speakers!
How to Edit Captions and Transcripts
If the automated transcript has minor errors, you can easily correct them.
1. Select Edit Content on the document containing the video.
If on the Course Content level, select the three dots of the video label and click Edit.
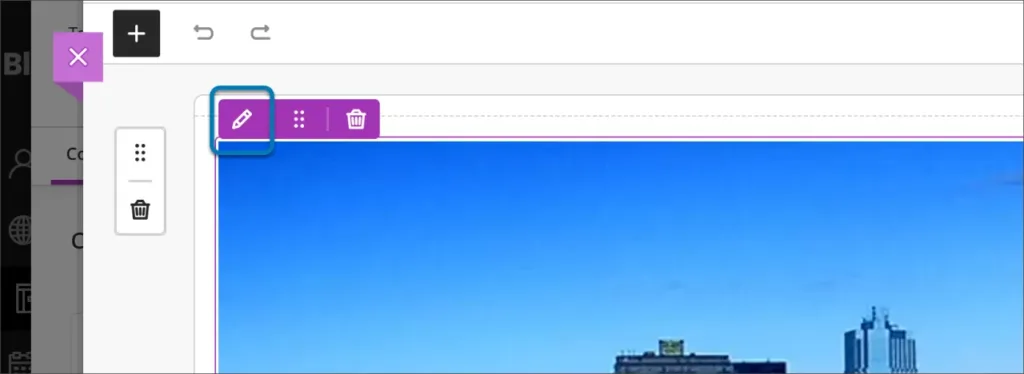
2. Hover your cursor over the video and click the pencil icon that appears.
3. Select the Transcript tab.
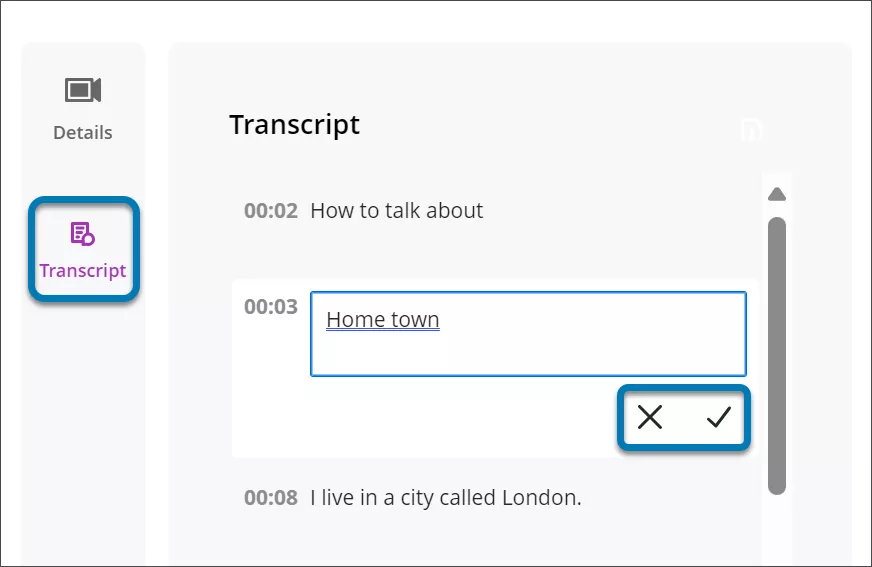
4. Click the pencil icon next to the line of text or speaker name you want to change. Make your edits and click the checkmark to confirm.
5. When you're finished, click Save Video. Your changes will be reflected in both the captions and the transcript.
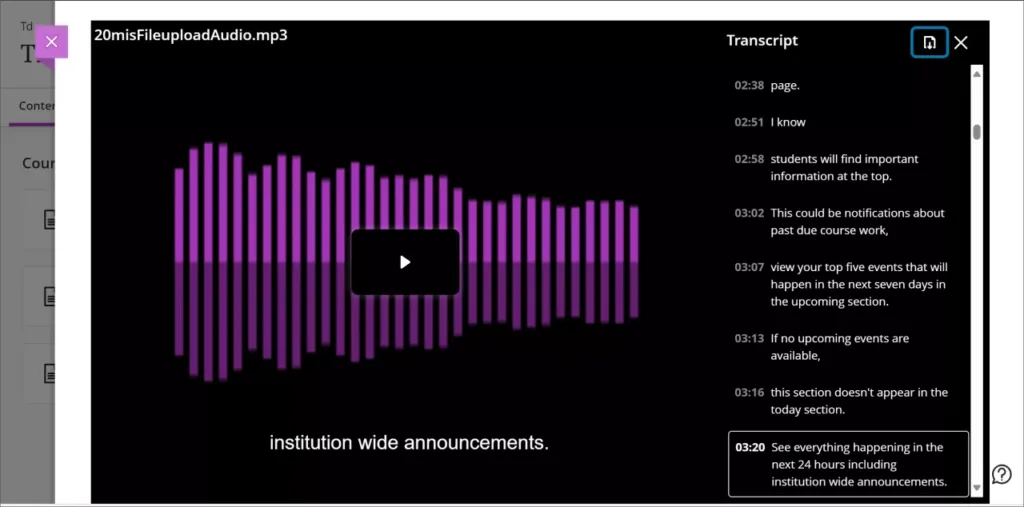
How to Download Transcripts
To download a copy of the transcript:
- Play the video and click the transcript button at the bottom of the player.
- In the transcript panel that opens, click the download icon at the top.
- The transcript will be downloaded as a VTT file, which includes timestamps and speaker labels.
Controlling the Display for You and Your Students
Both you and your students have full control over how captions and transcripts are displayed.
- To turn captions on or off: Click the captions (CC) button in the video player's progress bar.
- To view or hide the transcript: Click the transcript button next to the captions button.
The transcript's display adapts to the video size. For larger video displays, the transcript will appear in-line next to the video. For smaller displays, it will open in full-screen mode for easier reading.